GitHub Essentials with Rider

GitHub is an online hosting service for the Git version control system. It surfaces many features of Git, plus many of its own, including some social coding features. In this blog post, we’ll take a look at the essentials of using GitHub in Rider.
Get to know GitHub
Before we continue, it’s important to know the difference between Git and GitHub. Git is a source code control system, whereas GitHub is a hosting platform for Git repositories. This means that you run Git locally as a Version Control System (VCS) system. Then you can sync source-controlled code to the GitHub hosting service using Git commands. Fortunately, Rider provides a friendly UX that’s integrated with GitHub and issues Git commands on your behalf.
Because GitHub is a hosting platform, companies can adopt and host GitHub Enterprise on their own private servers. Rider also supports GitHub Enterprise.
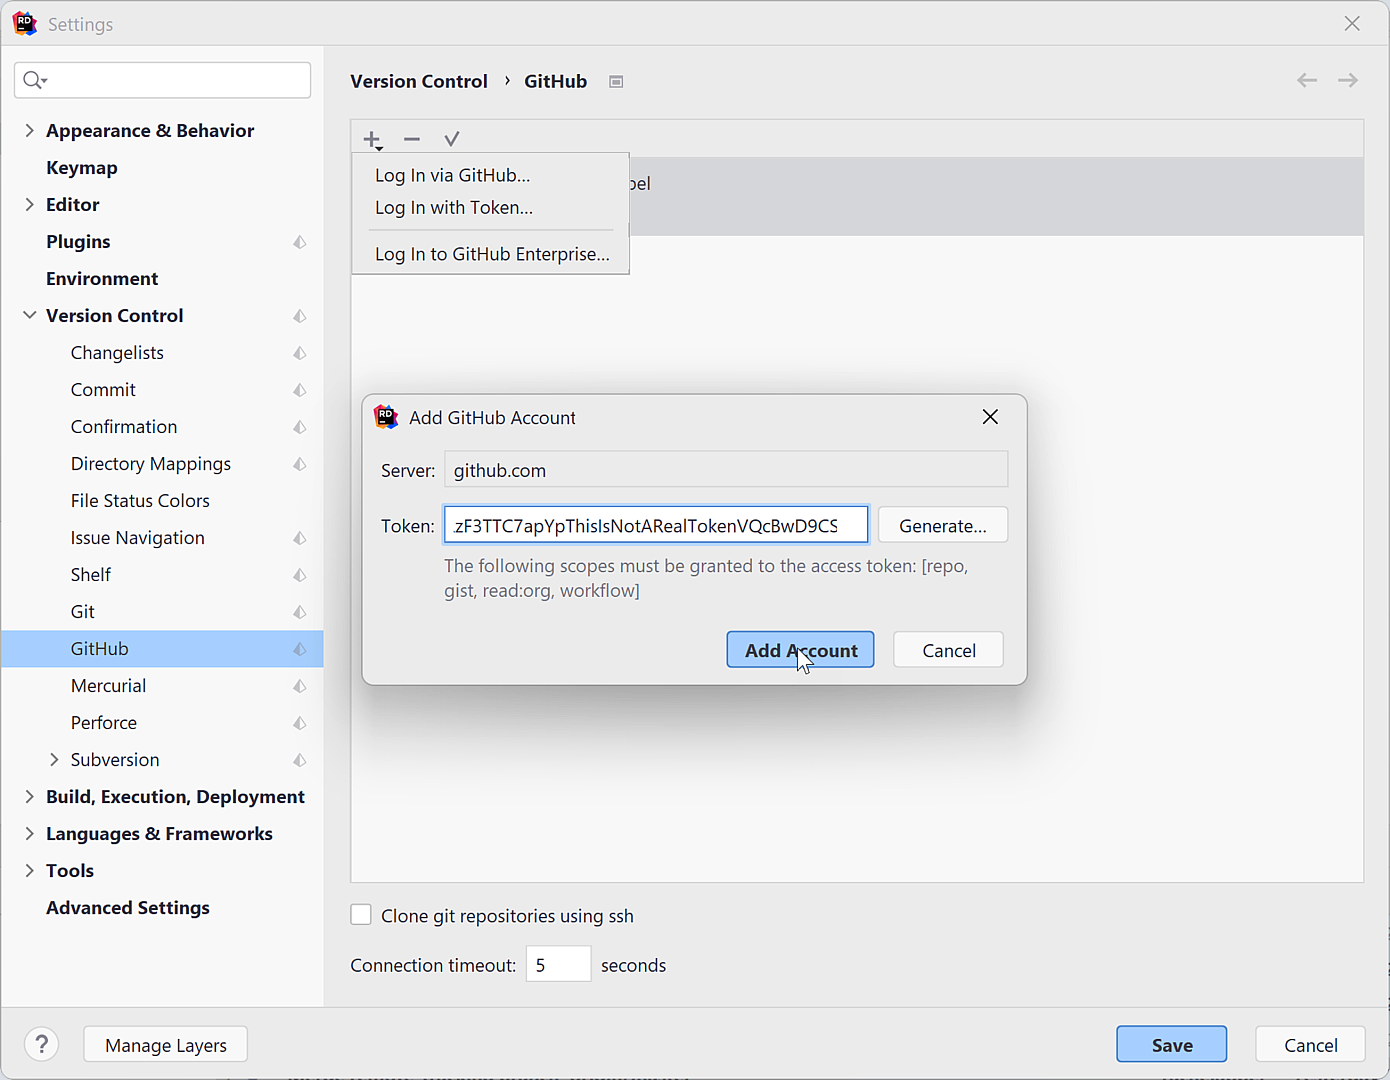
Log in via GitHub account with Rider
Before using GitHub, you must first connect your GitHub account and Rider. From Rider’s Settings, navigate to Version Control | GitHub to enter the login credentials for your GitHub accounts. This enables Rider to login to GitHub to post and retrieve code.
You may register using your GitHub email/password combination or a GitHub token. If your company uses GitHub Enterprise, you’ll need to get the server name and token from your administrator and enter that information.
Create and share a repository
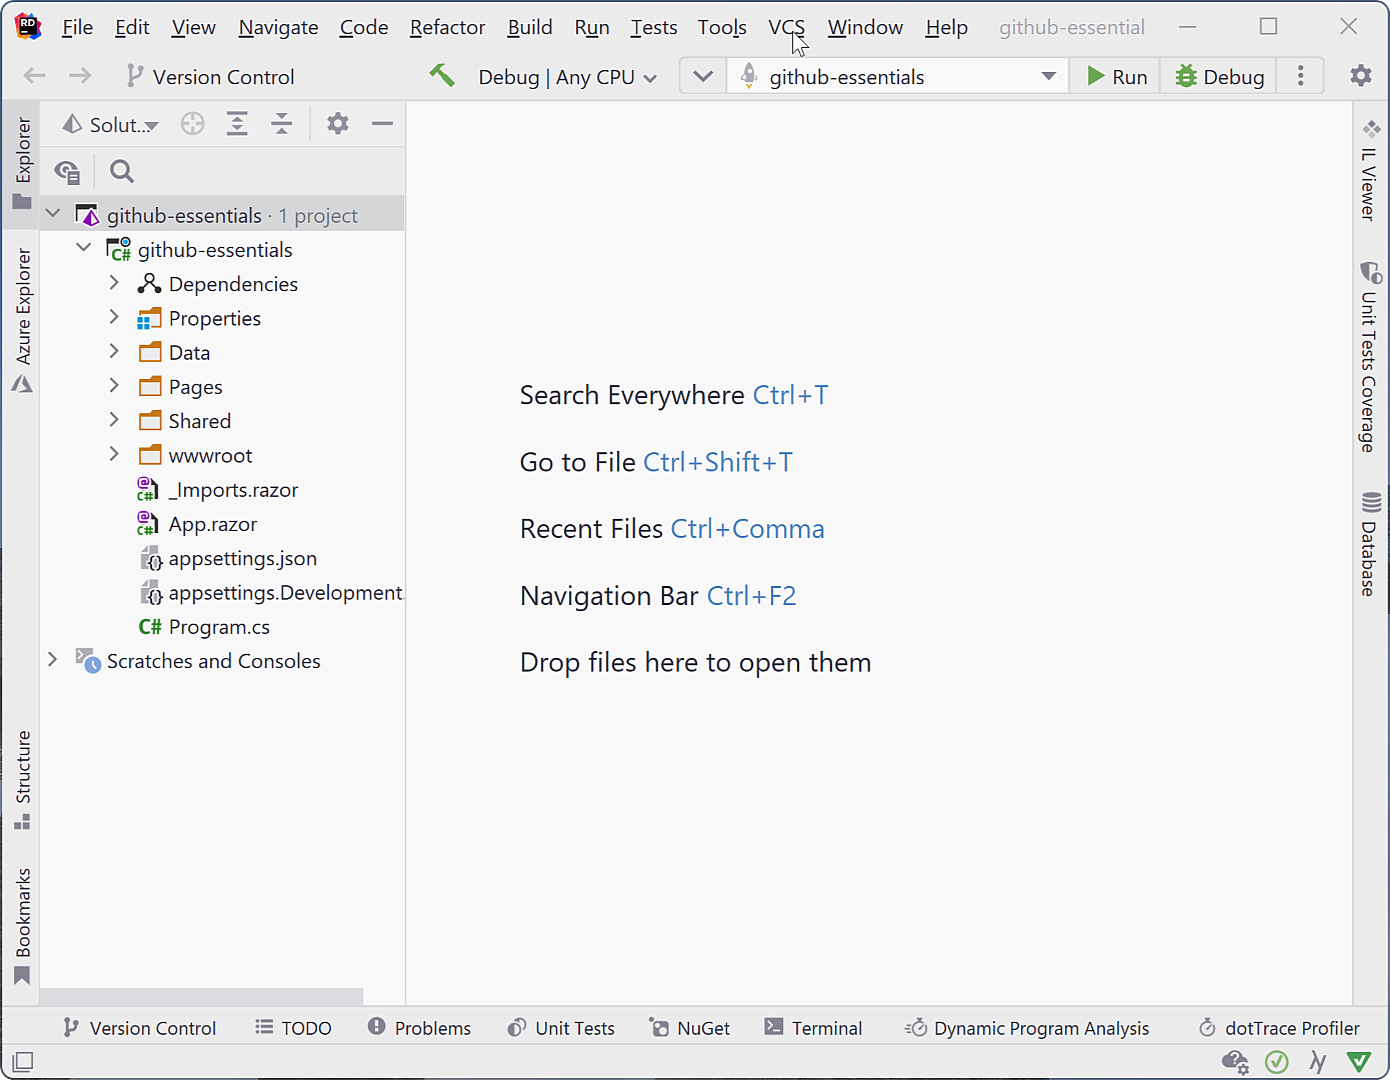
You’ve started an awesome project and you’re ready to share it with the team through GitHub. To do so, choose GitHub | Share Project on GitHub from the Git menu (if you don’t have a Git menu, see the upcoming note). Proceed by entering the Repository Name and Remote fields – they are required. The name is the name of the project as it is known to GitHub. A remote is the alias of the repository on GitHub where your code is stored. The default is called origin, though you may change it. Add a Description and mark as Private if you want. Then go ahead and choose Share.
Since you’ve just created an empty repo, Rider immediately prompts you to add your project’s code to it with the Commit dialog for the initial commit. Go ahead and commit the changes. This action will also push the code to GitHub.
Note: If you haven’t logged in yet to register your GitHub account with Rider, using the VCS | Share Project on GitHub menu option will display a login prompt first. This is the same process as connecting your account through the Rider’s settings, as previously noted. After registering, the VCS menu is replaced with the Git menu.
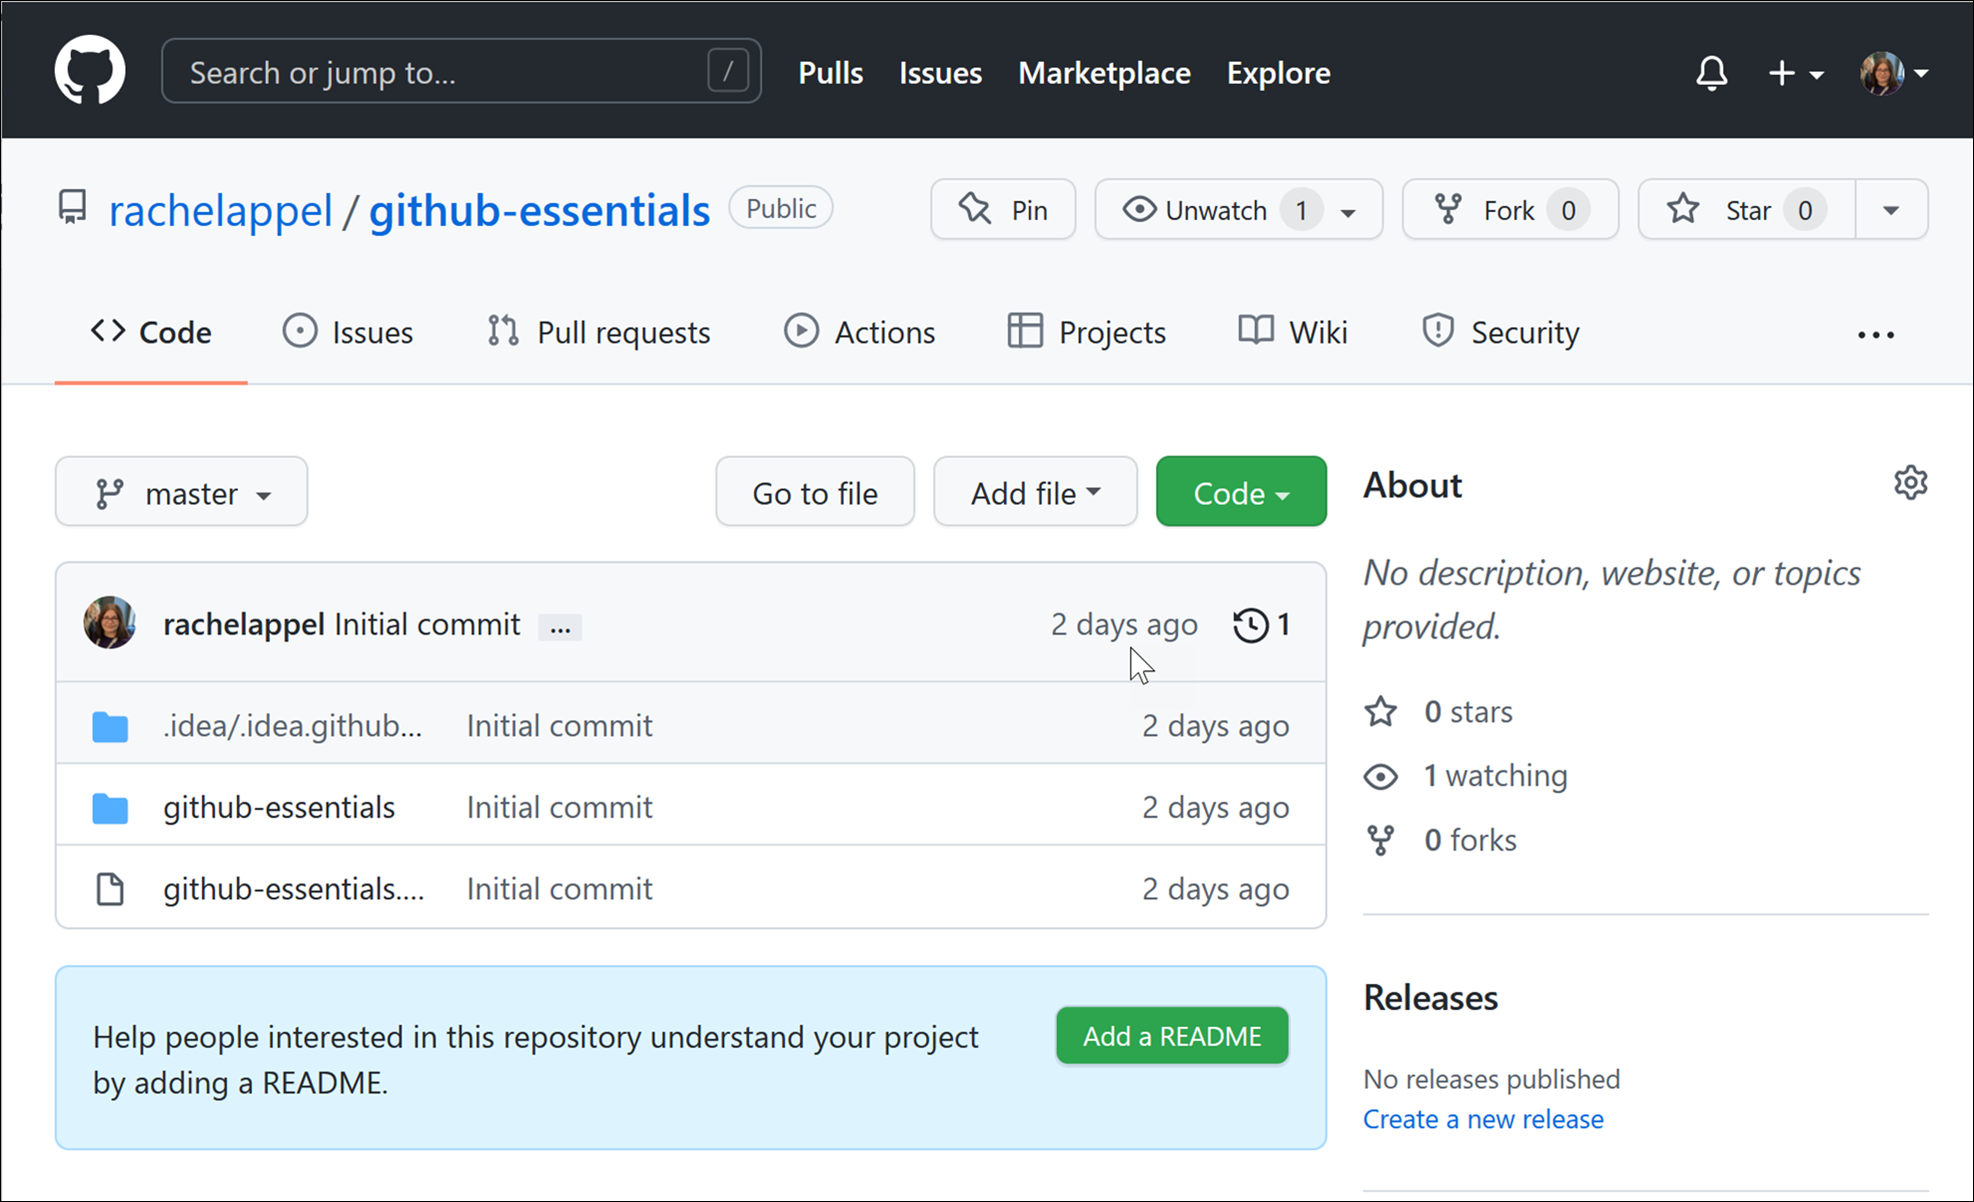
It’s a good time to check out your work on GitHub. Go to Git | GitHub | Open on GitHub and Rider will launch your default web browser showing the project’s repo. Convenient!
Fork a repository
You share your own code, but a fork is a snapshot of someone else’s repository that you have forked (copied), to your own GitHub repository. Once code is forked, it’s possible to create pull requests. This is because pull requests work between two GitHub repositories online, not your local repository and an online one. While some repository owners allow people to directly commit and push to their repo, most VCS operations with open-source software are performed through a pull request.
Forking is an action that must be done entirely online through the GitHub UI. To fork a repo, visit that repository and click on the Fork button in the top right corner of the page. A pop-up window asks where you want to fork the repo to. Choose the GitHub account you want to fork to, and Github copies over all of the code. You now have the option to take this forked codebase and continue developing it as your own codebase, with your own enhancements. Or, you can issue pull requests and contribute to the repo you have just forked.

Obtain code by cloning a repository
If it’s the first time you’re using an existing repo hosted on GitHub, you must clone it. Often this is someone else’s repo, but it may be one of your own repos that you’re accessing from a new machine or a fresh OS installation. Cloning code from GitHub copies the repo locally and links it to the remote repository hosted on GitHub.
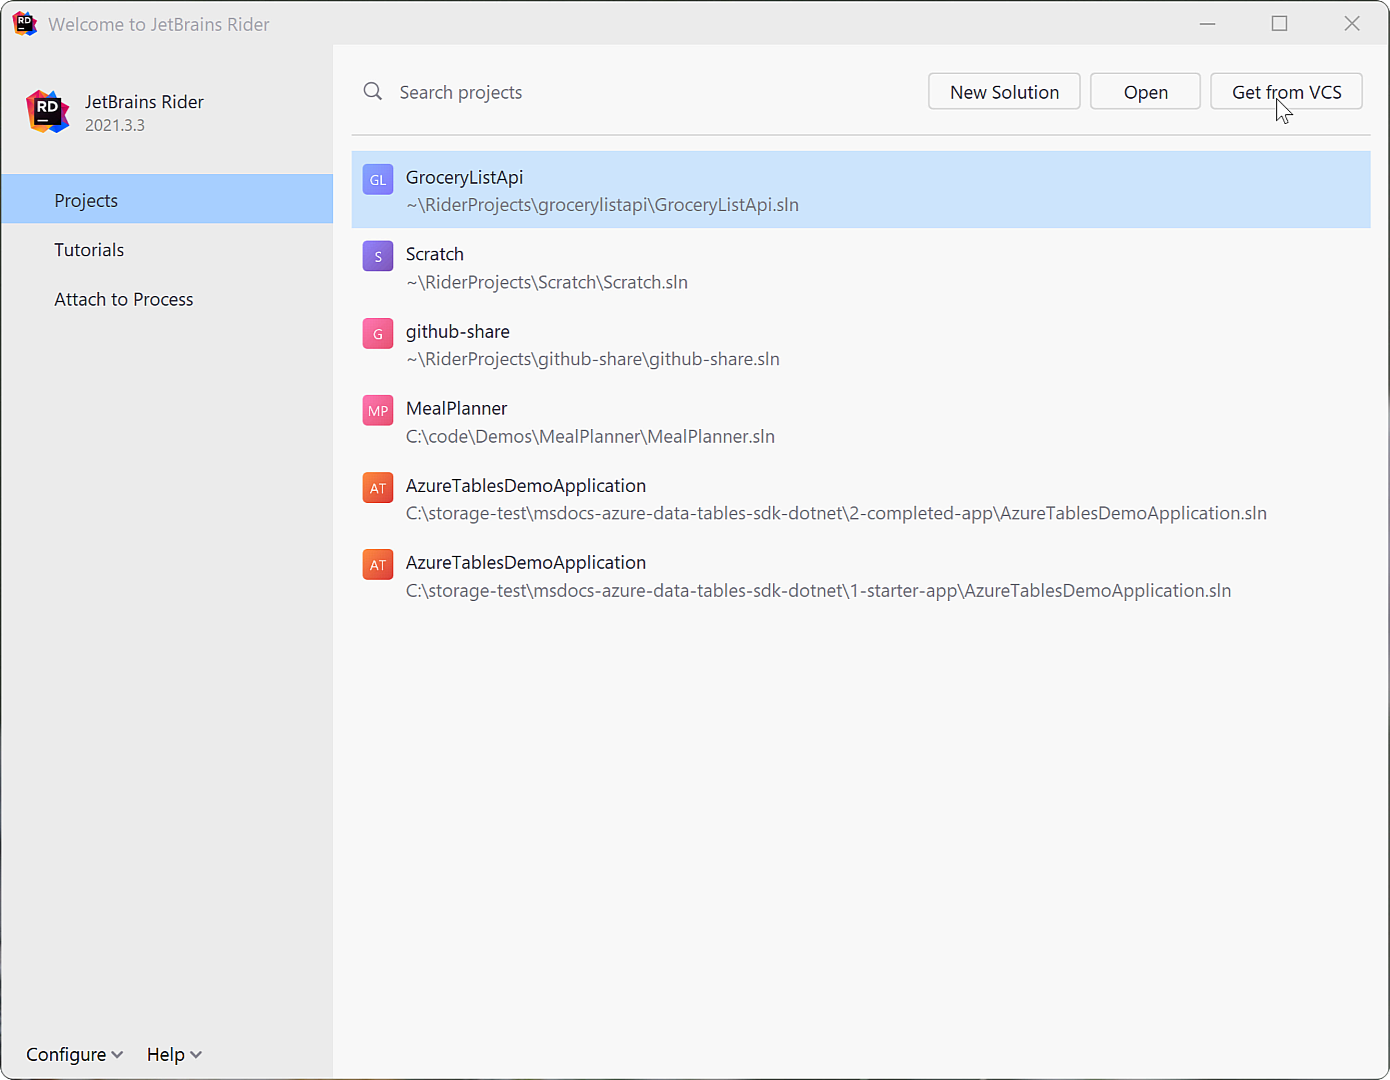
Upon opening Rider, you’re presented with an opportunity to clone a repo by clicking the Get from VCS button in the top right-hand corner of the Welcome screen. But just before you see the Welcome screen, take a moment to enjoy the excellent art that makes Rider’s splash screen.
To clone a GitHub repository, you need the repo’s URL. Repo URLs end in a .git extension, and are located at each repo on GitHub’s website. Each branch of each repo has its own URL, with the default URL referring to the primary branch, usually called main.
Rider provides a few options for cloning repos:
- Enter a URL into the URL field.
- Browse your repos and select one.
- Browse your company’s enterprise repos and select one.
Verify the local directory shown in the dialog is the one you want to clone to.
Git pulls the entire repo to the local location that you entered into the Clone dialog, and sets up the remote named origin. Now it’s time to start coding and collaborating!
For those times when you want to open a project from GitHub, but already have Rider open, use the Git | Clone menu option. This shows the same Clone dialog.
Commits and pull requests
As you make changes to the code, you’ll want to commit them. Committing code means that you’re saving a snapshot of the changes you’ve made since the last commit. This is part of the tracking that Git does behind the scenes, so that you can review changes in a snapshot, or revert back to a particular snapshot in time. Commits are tracked locally until they’re pushed to the GitHub repository.
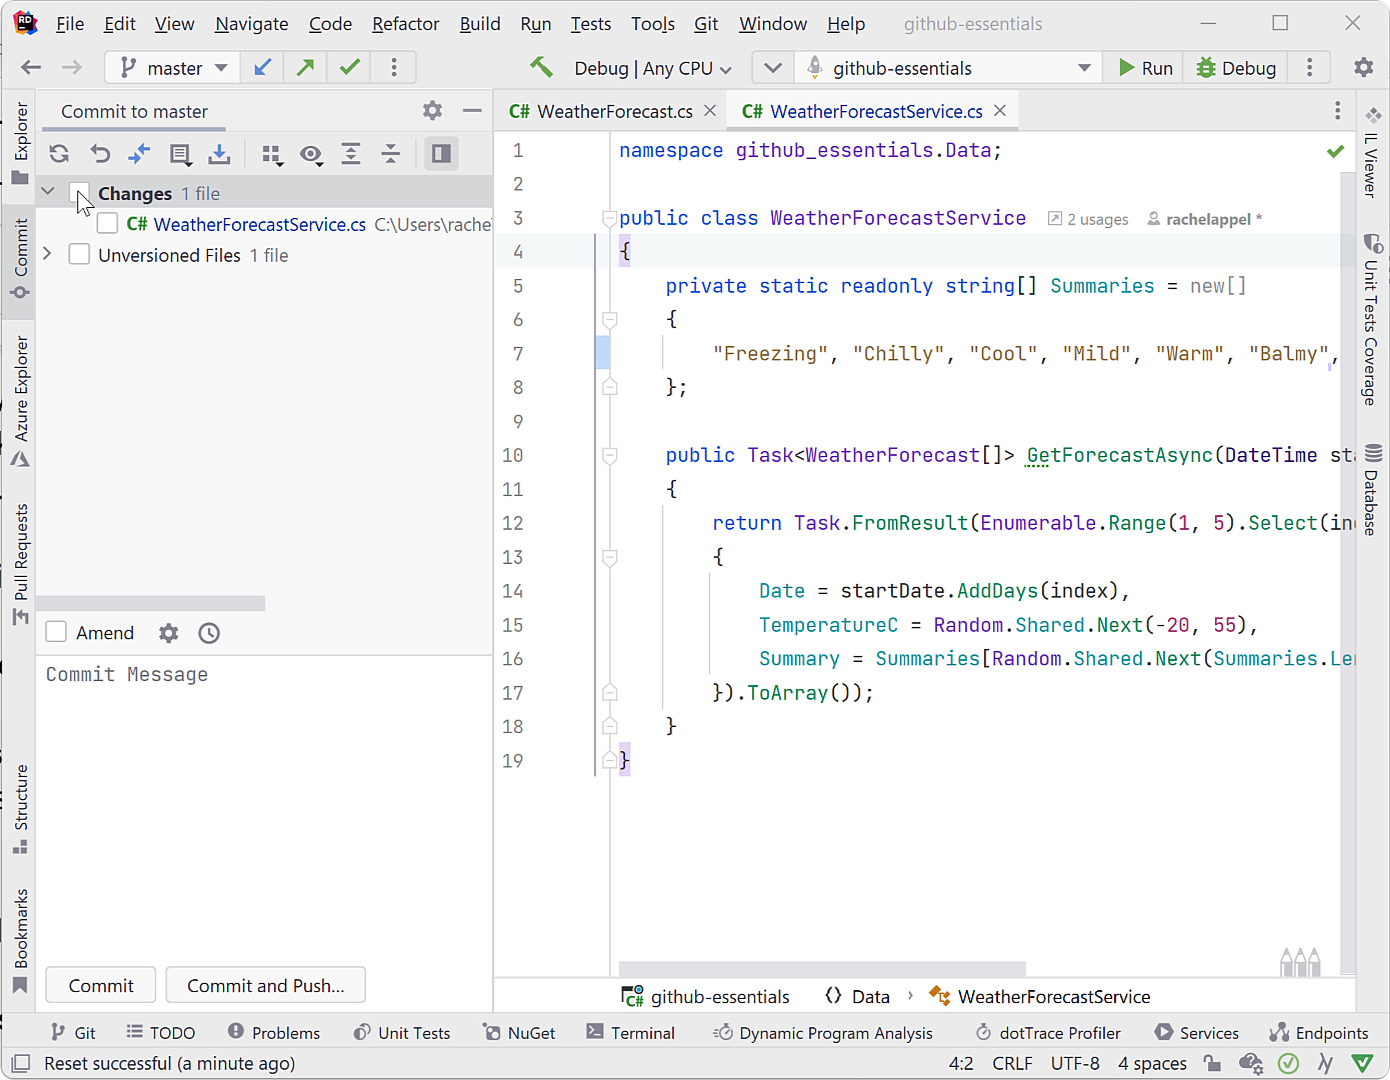
Rider provides a Commit Window where you can review code changes and differences, choose which changes should be committed, roll back, or commit code.A few additional options exist in this window, such as managing changelists.
Display the Commit Window with the Ctrl+Alt+K keyboard shortcut then choose Git | Commit from the menu to commit locally, or Commit and Push to send the changes to GitHub. If you commit locally, you can use Git | Push later on to upload changes to the remote on GitHub. If you forked a repository on GitHub, keep in mind that only your fork will get these changes. In order to merge the code with the original repo, you must issue a pull request.
After code has been committed and pushed, you may make a pull request. However, you first need to sync the fork. You can do so by choosing Git | GitHub | Sync Fork from the menu. This ensures that your fork and the original source are up-to-date and that you have integrated any changes made into your fork since you’ve last updated. Note that it’s a good idea to also sync before starting work on new features so that everything is up-to-date. Then proceed with the Git | GitHub | Create Pull Request option to start a pull request. In the Pull Requests Window, fill in the title and description and then choose your merge options.

At any time, use the View Pull Requests option from the Git | GitHub menu to see a list of all pull requests for a repo. Clicking on any single pull request shows details about it.
Merging code
Many developers are likely working on the same codebase simultaneously. At some point, they need to integrate those changes into the central codebase hosted on GitHub. This is what merging (and rebasing) is – integrating the modifications from any number of developers into a target location called a branch. A branch is a line of development. Each repo has one main branch, and most repos have additional branches. These additional branches are for developers to work on something specific, perhaps a new feature or a bug fix.
When you create a pull request, Rider asks if you want to merge and provides different options for merging: Merge, Rebase and Merge, or Squash and Merge.

Rebasing is an alternative to the standard merging of code. While merging ties together the histories of both branches, Rebasing incorporates the commits from the branch you were working on into the target (usually main) branch. This means commit history is rewritten. So it’s up to your team to determine how you want to manage commit history, as there are pros and cons for each way. However, while you’re merging, you may opt to squash multiple commits into a single commit. As you might expect, this also rewrites commit history because it has compacted everything. Rider provides a nice UX to manage commits with any of these commands.
Conclusion
Learning the basics of GitHub is a nice gateway into source code control with Git. So catch up on some basic Git concepts such as pulling and pushing code, as well as branches, to make the best use of GitHub. Rider’s UX was designed to make source code control with GitHub and Git as smooth and efficient as possible. Download a copy of Rider and try it for yourself.
Subscribe to a monthly digest curated from the .NET Tools blog: